Monday, 30 December 2013
My Mouflon logo and avatar
The Auodad or Mouflon a Manchettes was formerly widespread in rugged and mountainous terrain from deserts and semi-deserts to open forests in North Africa, but has suffered a strong decline due to poaching,hunting and habitat loss.
Saturday, 23 November 2013
A Taste of Morocco.......Tagines
The name Tagine...historically Berber... comes from the vessel it is cooked in; usually made from clay. The lower half is a round dish with low sides, the lid is a domed cone which traps the condensation from the cooking and returns the liquid to the contents, thus proving moisture during the cooking which can be an hour or more (sometimes all day).
The lid is removed for serving. It is a communial dish usually served with bread.
It seems everywhere you go in Morocco you will come across Tagines cooking!
The lid is removed for serving. It is a communial dish usually served with bread.
 |
| Selling Tagines in Marrakech City |
The traditional method of cooking with a tagine is to place it over bricks of charcoal. These are purchased specifically for their ability to stay hot for hours.
In some areas the farmers make their own charcoal.
 |
| A meal by the road side! |
 |
| Tagines for sale in a pottery |
 |
| Their Kiln |
 |
| ...and the rejects? |
 |
| A Tagine lunch by/in the River |
Couscous is also served in a Tagine
If all this has made you hungry...here are some recipes.....
Chicken Tagine with Preserved Lemons and Olives
Moroccan Couscous with Seven Vegetables
Friday, 15 November 2013
My Waterlily Handbag ....Part four
My Waterlily Handbag is nearly finished!
I have attached the leaves and stitched in the veins
Next stage.... working out how to attach the flower and make the centre...I decided to use gold coloured satin cord and yellow glass beads.
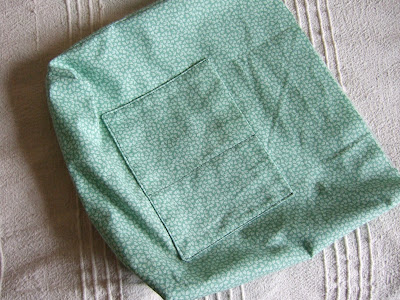
Sewing the lining and making pockets for phone, purse and notebook..... masses of room left !
The flower is now completed
Lining finished...the outside has now to be padded and interlined.
Watch this space for the final pictures!
Part one My Latest Hand Bag Ideas...Waterlilies
Part two My Waterlily Hand Bag
Part three My Waterlily Hand Bag
Thursday, 27 June 2013
Launching my new Necklace Collection
Wearable Art, so much more than 'just a piece of jewellery'
These necklaces will be for sale in my Etsy Shop soon!
My first design
WILD APPLES
Olive green slubby cotton yarn over recycled T shirt material.
Minature artificial fruit and leaves.
Handmade silver hook and ring fastening
Amazingly soft and comfortable to wear.
See how it was made..
http://www.uniqueartisanjewelleryblog.com/2013/05/how-i-made-series-woodland-necklace.html
Friday, 10 May 2013
How I made Series:..... Wearable Art
WINTER FRUITS
At the beginning of last year I started experimenting to make a necklace base that was soft and pliable yet strong and wearable.
I wanted it also to be integral with the embellishments I chose.
I tried different types of crochet in different yarns from silk to hemp, ribbons and strips of fabrics.
Then quite by chance I was cutting up a T- shirt for a different project and suddenly realized this was what I was looking for as a base for my necklaces.
A cotton T- shirt cut into bias strips worked beautifully!
After a few more unsuccessful attempts I found a way to wrap the bias strips so they behaved just the way I envisaged all those months ago!
But of course that was only the beginning I had to find embellishments that fitted in with the twisted woody vine effect I had created.
I was using some little red clips to hold the vines together, my daughter on passing thought these were part of my idea. This was enough to start my mind rolling, so I worked with that colour and with the placing of the clips, and chose for my first piece miniature fruit, berries and leaves.
Of course like everything handmade it took hours to make but it’s relaxing, peaceful, and portable and needs very few tools.
Now I am hooked no T-shirt is safe from my scissors!
Fastening the necklace was another time consuming process but after a few trails I decided to use my own hooks made from silver plated wire, with rings; neat and effective.
 |
| Very Simple Fastening |
I will create a few more in this series and then they will be for sale in My Etsy Shop
I would really appreciate your comments!
Subscribe to:
Comments (Atom)
-
I am delighted with my polytunnel being able to work in all weathers is wonderful. Like many gardeners I have back problems so high leve...
-
Tagines..so simple…so delicious! The name Tagine...historically Berber... comes from the vessel it is cooked in; usually made...
-
Hennins and Footwear The array of different hat shapes in this picture shows the extraordinary variety of head wear of the renaissance ...


